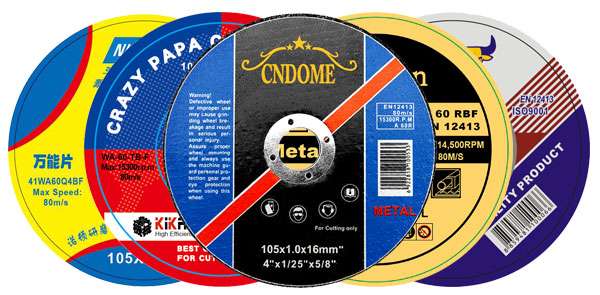
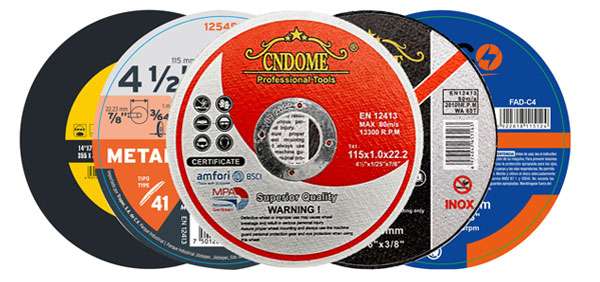
When working with tiles, precision and clean cuts are essential. Whether you’re renovating a bathroom or laying down a new kitchen backsplash, using the right cutting disc is key to achieving a professional finish. In this guide, we’ll explore the features, types, and applications of cutting discs designed specifically for tiles.
Why Use a Tile Cutting Disc?
Tiles are generally made from tough materials like ceramic, porcelain, or stone, which require specialized tools for cutting. Using a cutting disc designed for metal or other materials may result in chipping, uneven edges, or even disc failure. Tile cutting discs are engineered to deliver smooth, clean cuts while preventing damage to the tile’s surface and maintaining the disc’s longevity.
Key Features of a Tile Cutting Disc
- Material Compatibility: Tile cutting discs are made with abrasive materials such as diamond grit or carbide to handle hard surfaces. These discs ensure clean cuts on ceramic, porcelain, granite, or marble without compromising on precision.
- Thin Kerf: A thin kerf (the width of the cut) is crucial for cutting tiles, as it minimizes the material removed, reducing chipping and breakage.
- Continuous Rim: Most tile cutting discs feature a continuous rim without gaps or teeth. This smooth edge helps deliver a more refined cut, ideal for tiles where aesthetics are important.
- Wet or Dry Cutting: Tile cutting discs are available for both wet and dry cutting. Wet cutting is preferred as it reduces dust, cools the blade, and extends the disc’s life. However, dry cutting discs are convenient for smaller tasks and areas without water access.
Types of Cutting Discs for Tiles
- Diamond Blades: Diamond cutting discs are the most popular for tile work due to their strength and durability. The diamond particles embedded in the disc’s edge help to cut through hard materials smoothly.
- Turbo Blades: These discs combine the benefits of both segmented and continuous rim blades. They feature a serrated edge, allowing for faster cutting while maintaining a smooth finish.
- Segmented Blades: Although segmented blades are more common for masonry, they can be used for larger, thicker tiles. The segments allow for better cooling during heavy-duty cutting but may cause chipping on more delicate materials.
Choosing the Right Disc for Your Tile Project
Tile Material:
- For ceramic or porcelain tiles, a continuous rim diamond blade is ideal, providing smooth cuts without chips.
- For natural stone tiles like marble or granite, opt for a turbo diamond blade for faster cutting with minimal damage.
Disc Size: The size of your cutting disc should match your angle grinder or tile saw. The most common sizes are 4.5”, 5”, and 7”, but the choice depends on your specific tool and project requirements.
Wet vs. Dry Cutting:
- Use a wet cutting disc if you’re working on larger projects or when cutting expensive, delicate materials like marble. Wet cutting helps prevent overheating and extends the life of both the disc and the tile.
- For smaller or more manageable cuts, a dry cutting disc offers convenience without the need for water.
Tips for Cutting Tiles with a Cutting Disc
- Mark your cuts: Use a pencil or tile marker to clearly outline the area to be cut.
- Start slow: Begin with light pressure and gradually increase force to avoid cracking.
- Use water for cooling: If cutting dry, take frequent breaks to avoid overheating.
- Safety gear: Always wear eye protection and a mask to protect from dust and debris.
Conclusion
Selecting the right cutting disc for tiles is crucial for achieving clean, professional results. Understanding the tile material, the type of disc, and the cutting method will help you make the right choice for your project. Whether you’re working with delicate ceramic or tough granite, investing in a quality tile cutting disc will save time, reduce waste, and improve your overall results.


