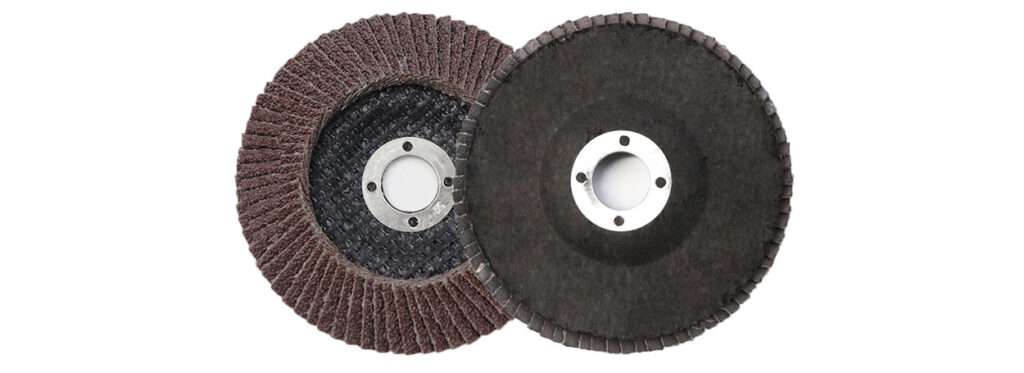
When it comes to paint removal, choosing the right tool can make all the difference. Flap discs have become a go-to solution for many DIY enthusiasts and professionals alike. Their versatility, efficiency, and ease of use make them an excellent choice for this task. In this guide, we’ll explore why flap discs are ideal for paint removal, their benefits, and how to use them effectively.
What Are Flap Discs?
Flap discs are abrasive tools made from overlapping pieces of sandpaper (flaps) adhered to a sturdy backing plate. These discs are mounted on angle grinders and are used for a variety of grinding and finishing applications. They come in different sizes, grit levels, and materials, making them suitable for various surfaces and tasks.
Why Choose Flap Discs for Paint Removal?
- Efficiency: Flap discs are highly efficient at removing paint. Their overlapping flaps continuously expose fresh abrasive material, ensuring consistent performance and faster removal compared to traditional sanding methods.
- Versatility: Whether you are working on metal, wood, or fiberglass, flap discs can handle it all. They come in various grits, allowing you to choose the right level of abrasiveness for your specific paint removal needs.
- Surface Preparation: Flap discs not only remove paint but also prepare the surface for the next step. They smooth out rough spots and can even remove rust and other surface contaminants, providing a clean, even surface ready for repainting or other treatments.
- Durability: Made from high-quality materials, flap discs are durable and long-lasting. They maintain their abrasive properties throughout their lifespan, reducing the need for frequent replacements.
How to Use Flap Discs for Paint Removal
Using flap discs for paint removal is straightforward, but there are some key steps to follow to ensure safety and effectiveness:
- Choose the Right Grit: Select a flap disc with the appropriate grit level for your project. Coarser grits (40-60) are ideal for heavy paint removal, while finer grits (80-120) are suitable for lighter tasks and finishing.
- Safety First: Always wear appropriate safety gear, including eye protection, gloves, and a dust mask. Ensure your work area is well-ventilated.
- Prepare the Surface: Clean the surface to remove loose dirt and debris. This will help the flap disc work more effectively and prolong its life.
- Mount the Disc: Secure the flap disc onto your angle grinder according to the manufacturer’s instructions. Ensure it is tightly fastened to avoid accidents.
- Start Grinding: Hold the grinder at a 10-15 degree angle to the surface and start removing the paint using smooth, even strokes. Apply consistent pressure, but avoid pressing too hard to prevent damage to the underlying surface.
- Inspect and Adjust: Periodically inspect your work and adjust your technique as needed. Replace the flap disc when it shows signs of wear or becomes less effective.
Tips for Best Results
- Work in Sections: Divide the surface into manageable sections and work systematically to ensure even paint removal.
- Keep It Moving: Avoid staying in one spot for too long to prevent gouging or uneven removal.
- Use Multiple Grits: Start with a coarse grit for initial removal, then switch to a finer grit for smoothing and finishing.
Conclusion
Flap discs are an excellent tool for paint removal, offering efficiency, versatility, and durability. By following the proper techniques and safety precautions, you can achieve a smooth, clean surface ready for its next finish. Whether you’re tackling a small DIY project or a large professional job, flap discs can help you get the job done quickly and effectively. Happy grinding!


